How to Backup Your iPhone: Essential Steps to Secure Your Data
In our digital age, the importance of protecting data on devices like iPhones cannot be overstated. Whether it’s cherished memories captured in photos, essential contacts, or personal app data, safeguarding this information is critical. Backup methods for iPhones offer a means to secure, store, and restore your data, ensuring that nothing essential is lost in cases of damage, theft, or unexpected data loss. This guide will dive into the key methods for iPhone backup, exploring the most effective tools, understanding their unique benefits, and providing real-world examples to help you choose the best solution tailored to your needs.
Importance of Backing Up Your iPhone
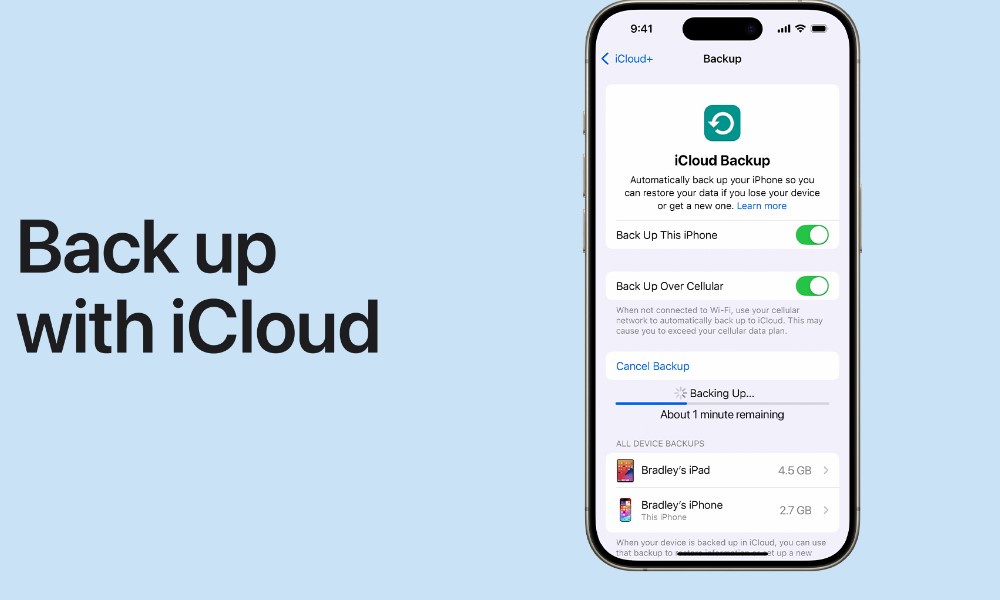
Backing up your iPhone is crucial to protect your valuable data, including photos, contacts, messages, app data, and more. In case of device loss, damage, or malfunction, having a backup allows you to restore your information easily, preventing irreversible data loss. Regular backups also streamline the process of upgrading to a new device by transferring all settings, apps, and data seamlessly, ensuring continuity without missing critical files.
Furthermore, backups offer peace of mind. If you accidentally delete an important file or experience a technical issue, a backup can quickly restore your data to its previous state. For users who manage essential or sensitive information, a backup acts as a safeguard, keeping their data secure and accessible. Overall, maintaining a consistent backup routine is a smart and proactive way to ensure your digital assets remain safe and readily available when needed.
Important Things to Note Before Backing up your iPhone
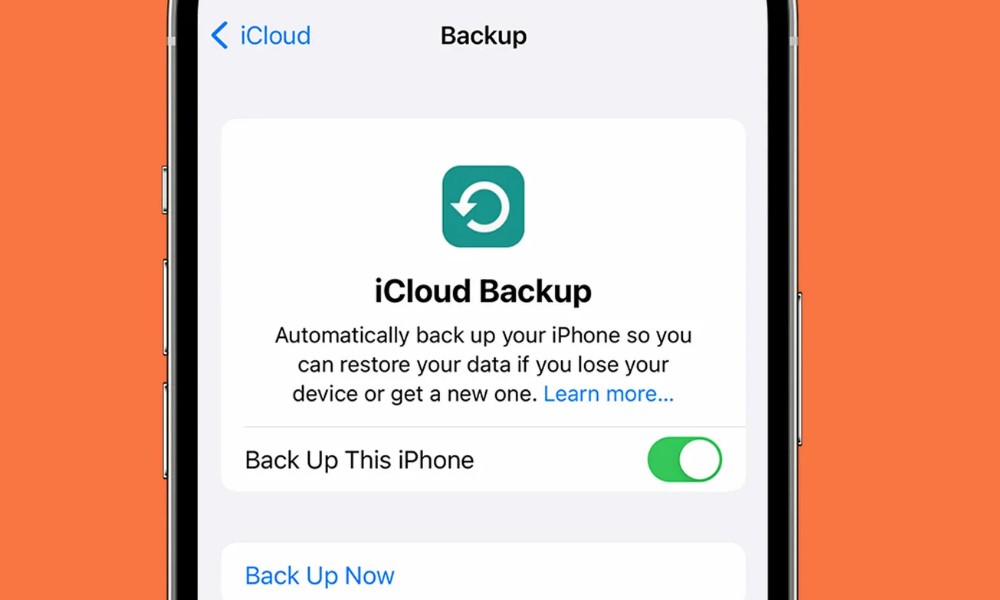
Backing up your iPhone is a critical step to securing your data, but there are a few important things to keep in mind to ensure a smooth and effective backup process. Whether you’re using iCloud, iTunes, Finder, or a third-party app, understanding these key points will help you avoid potential issues and make the most of your backup.
1. Check Your Storage Space
Before starting a backup, confirm you have enough storage space. iCloud offers 5GB of free storage, which may not be sufficient for large backups. If you’re backing up locally with iTunes or Finder, make sure your computer has enough free space. For those considering cloud-based alternatives like Google One, review available storage to ensure it can accommodate your data. Regularly deleting unused apps, old messages, and unnecessary photos can help free up storage space for a more efficient backup.
2. Ensure a Stable Internet Connection
If you’re using iCloud or another cloud backup service, a stable Wi-Fi connection is essential. Backups can consume significant data and time, especially if it’s the first time you’re backing up a large amount of information. Without a stable connection, the backup may fail or pause, leaving you with incomplete data storage.
3. Fully Charge Your Device
A backup can drain battery life, especially if you’re transferring large amounts of data. Always ensure your device is fully charged before beginning or connect it to a power source to avoid interruptions. iCloud backups, for example, will only start automatically when the iPhone is connected to Wi-Fi, charging, and locked.
4. Update Your iPhone and Apps
Updating your iPhone’s operating system and apps to the latest versions ensures compatibility and security during the backup process. System updates often include improvements for iCloud and backup functionalities, so it’s best to perform these updates before starting.
5. Choose the Right Backup Method for Your Needs
Each backup method—whether iCloud, iTunes/Finder, or a third-party service—has its advantages. iCloud is ideal for quick, automatic backups but requires adequate cloud storage. Local backups via iTunes or Finder allow for more control over storage but require a computer. Third-party options can offer extra features, such as more storage or cross-platform compatibility. Evaluate your needs, such as accessibility and available storage, to choose the best method for you.
6. Verify Your Backup
Once the backup is complete, it’s crucial to verify that it was successful. For iCloud, check your last backup details in Settings under iCloud Storage. For iTunes or Finder, navigate to your backup settings on your computer. Regular verification ensures that your backup is complete and ready to restore whenever needed.
Benefits of iPhone Backup
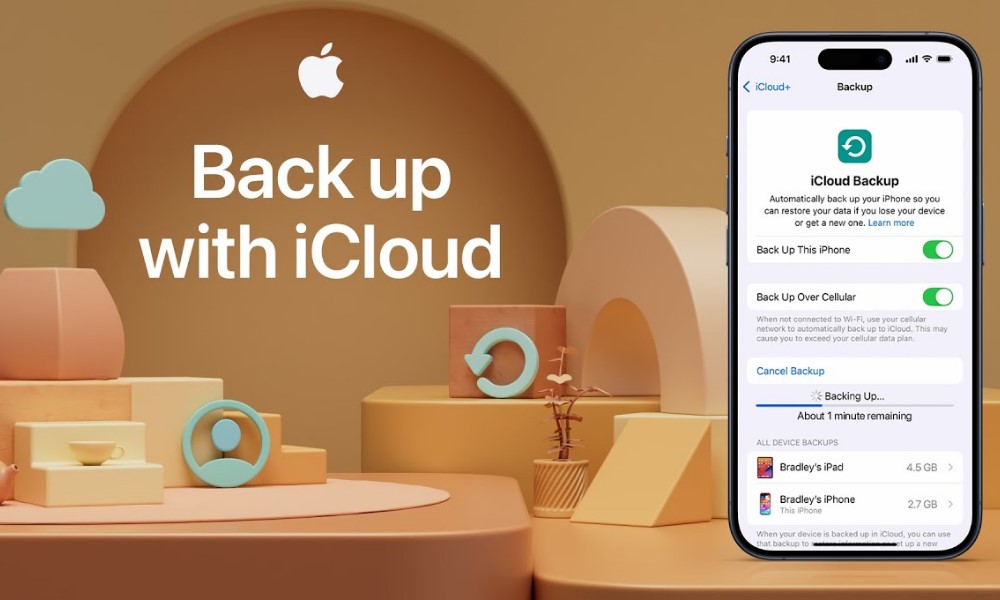
Regularly backing up your iPhone provides essential security and peace of mind, ensuring that your data is safe, accessible, and easily restorable in any situation. Here are the core benefits of maintaining a reliable iPhone backup:
1. Data Security and Protection
One of the primary benefits of iPhone backup is securing critical data such as contacts, photos, app data, and documents. In the event of accidental data deletion, hardware failure, or even theft, a recent backup allows you to restore your device’s contents quickly. By maintaining backups, you minimize the risk of permanent data loss, protecting valuable memories and information.
2. Seamless Device Upgrades
Backing up your iPhone simplifies the process of upgrading to a new device. When switching to a newer iPhone model, you can restore your entire device with ease. This ensures that your new device will have the same settings, apps, and files as your previous phone. This benefit not only saves time but also provides a smooth, stress-free transition between devices.
3. Protection Against Software Issues
Occasionally, software updates or new apps may cause unexpected issues or glitches. With a recent backup, you can restore your device to a stable state if a problem arises. This option allows you to test new software or applications with the assurance that you can revert to a working setup if needed.
4. Enhanced Privacy and Control
Using options like iCloud and Finder/iTunes, you can select specific data to back up, keeping sensitive information secure while retaining control over your storage. Cloud backups, in particular, offer end-to-end encryption, providing an added layer of security that prevents unauthorized access to your data.
5. Business and Productivity Assurance
For professionals, iPhone backups are crucial for maintaining productivity. Losing work-related documents, contact lists, or email accounts can severely disrupt daily operations. With regular backups, you can quickly recover and continue with minimal interruption, which is especially beneficial for business continuity.
6. Quick Recovery from Accidents
Accidents happen—whether it’s spilling a drink, dropping your phone, or encountering an unexpected failure. A recent backup ensures you won’t lose important data if your device is damaged beyond repair. Having a reliable backup reduces recovery time and stress, letting you recover data quickly after any mishap.
Key Methods for iPhone Backup
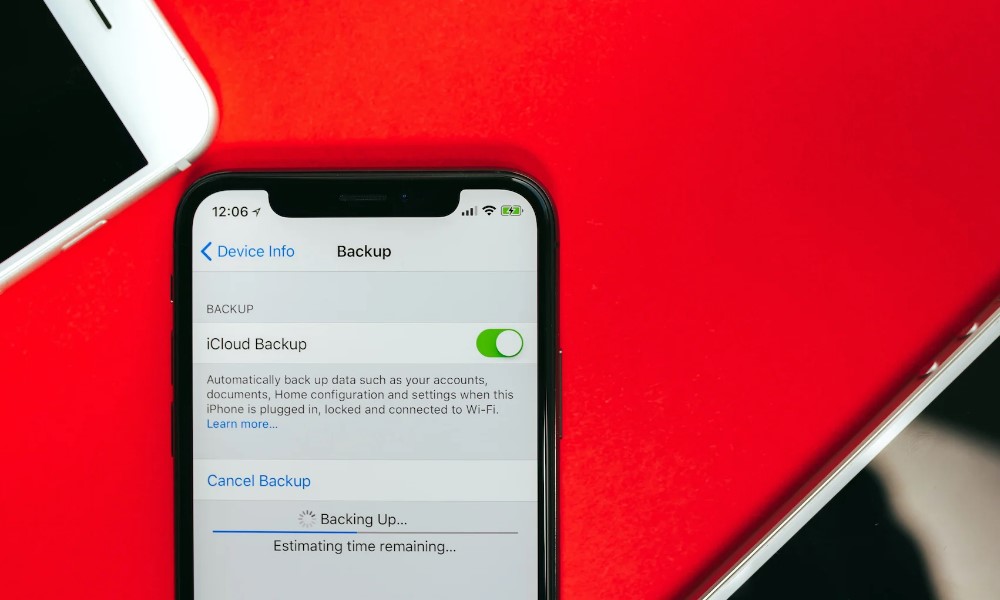
For iPhone users, there are three primary methods of backing up data, each with distinct advantages suited to various needs and circumstances. Below, we break down each method to help you decide which one best aligns with your usage and security needs.
iCloud Backup for iPhone
Apple’s iCloud offers a convenient, cloud-based backup solution integrated directly into the iPhone system. It provides seamless, automated data backups without the need for additional software or devices. iCloud backups are particularly useful for users with consistent Wi-Fi access, as they allow data to be stored securely on Apple’s servers.
How iCloud Backup Works
To use iCloud for backing up your iPhone:
- Connect your device to a Wi-Fi network.
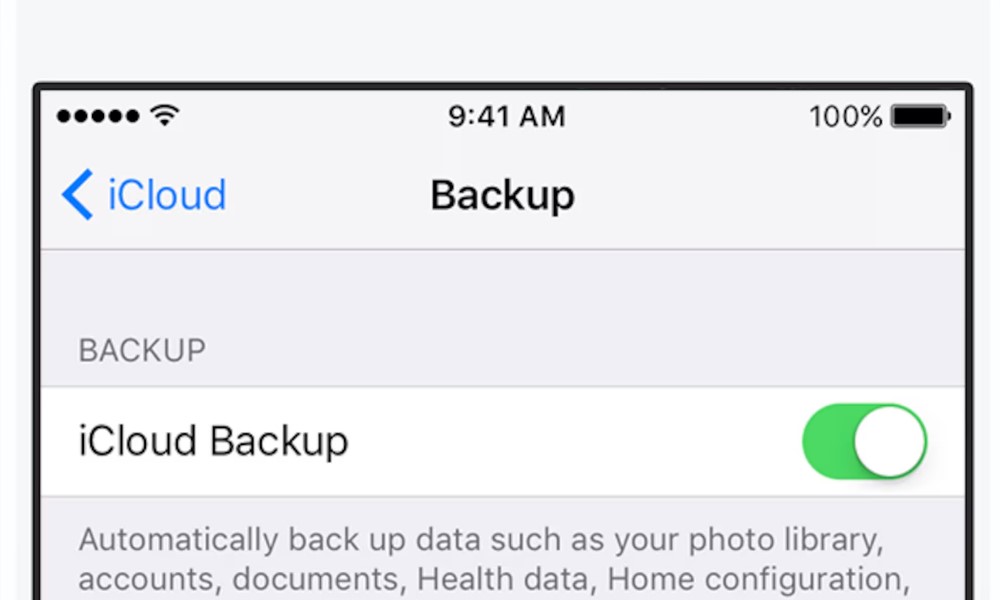
- Go to Settings > [Your Name] > iCloud > iCloud Backup and toggle it on.
- iCloud will automatically back up your data when connected to Wi-Fi, plugged into a charger, and locked.
iCloud backup includes essential data like photos, messages, app data, and settings. For users who prioritize convenience, iCloud is an excellent option, especially since it runs in the background and keeps your data updated automatically.
Pros and Cons of iCloud Backup
- Pros:
- Automatic and Effortless: Once enabled, iCloud backup runs automatically, ensuring that your data is always up-to-date.
- Remote Access: Since it’s cloud-based, iCloud allows you to access your data from any Apple device.
- High-Level Security: Apple employs end-to-end encryption, ensuring that your data remains private and protected.
- Cons:
- Limited Free Storage: Apple provides only 5GB of free iCloud storage, which can quickly be exhausted. Upgrades to higher storage levels are available for a fee.
- Dependence on Wi-Fi: iCloud backup requires Wi-Fi, meaning it may be less convenient for users without consistent internet access.
Price and Purchase Information
Apple offers several iCloud storage plans to accommodate varying needs:
- Free: 5GB
- 50GB: $0.99 per month
- 200GB: $2.99 per month
- 2TB: $9.99 per month
Users can upgrade their storage directly through the iPhone settings. Buy iCloud Storage Plan
Using iTunes/Finder for Local Backup
For those who prefer offline data storage, Apple’s iTunes (on Windows) and Finder (on macOS) provide a reliable option for local backups. Unlike cloud storage, local backups save your data directly to a computer, allowing for quicker access without the need for Wi-Fi.
How Local Backup Works
To create a backup using iTunes or Finder:
- Connect your iPhone to your computer via a USB cable.
- Open iTunes (on Windows) or Finder (on macOS).
- Select your device when it appears, then click Back Up Now.
Local backups via iTunes or Finder store almost all of your iPhone data, including photos, app data, messages, and settings. This method gives users complete control over where their data is stored and provides faster access in case of a restore.
Benefits of Using iTunes/Finder for Backup
- Offline Control: Local backups give you complete control over where your data is stored, offering an additional layer of security.
- No Storage Limit: Unlike iCloud, there’s no additional fee or limit on the amount of data you can back up, provided you have enough space on your computer.
Pros and Cons of iTunes/Finder Backup
- Pros:
- Total Control: You have full control over your backup data and location.
- No Monthly Fee: Unlike cloud-based solutions, iTunes and Finder backups are free and don’t require additional storage costs.
- Fast Data Transfer: Local backups can transfer data faster than cloud solutions.
- Cons:
- Physical Requirement: Requires a USB connection to a computer, which may not be convenient for users without regular access to one.
- No Remote Access: Since data is stored locally, you can’t access it from another device or location.
Download iTunes for Windows, or use Finder if you’re on macOS.
Third-Party Backup Solutions for iPhone
Google One is a versatile third-party solution that provides cloud-based storage, including photo, video, and contact backups, compatible with both iOS and Android devices.
How Google One Works
- Download the Google One app from the App Store.
- Log in with your Google account and set up backup options.
- You can choose to back up contacts, photos, and videos, creating a flexible backup system for cross-platform access.
Pros and Cons of Google One for iPhone Backup
- Pros:
- Cross-Platform Accessibility: Google One’s backup can be accessed across iOS and Android devices, making it ideal for those who use multiple platforms.
- Competitive Pricing: Offers 100GB of storage for $1.99 per month, a larger amount than iCloud’s 50GB plan at a similar price.
- Family Sharing: Google One allows family members to share storage plans, making it a cost-effective choice.
- Cons:
- Limited Data Scope for iPhone: Google One focuses on photo and contact backup, lacking the comprehensive app and settings data that iCloud provides.
- Google Account Requirement: You’ll need a Google account to use Google One.
Subscribe to Google One for more storage options and compatibility.
Detailed Benefits of Regular iPhone Backups
Establishing a regular backup routine offers critical advantages, ranging from simple data recovery to seamless device upgrades. Here’s an expanded look at the benefits of each method:
- Enhanced Data Security: With regular backups, you can be assured that valuable files, memories, and data are safeguarded. Even if your iPhone is damaged or lost, backups ensure that data can be restored without loss.
- Smooth Transition to New Devices: Backups simplify the process of moving data to a new iPhone, maintaining app settings, contacts, and data without any hassle.
- Backup Customization: With options like iCloud, local storage, and third-party apps, users can tailor backups to meet their unique needs and storage preferences.
Where to Buy and Set Up iPhone Backup Solutions
- iCloud: Accessible from the Settings app on your iPhone, iCloud subscriptions can be adjusted directly.
- iTunes/Finder: Available on Apple’s website or pre-installed on macOS.
- Google One: Downloadable from the App Store and available with various subscription options.
Use Cases for iPhone Backup Solutions
Backups are essential in diverse situations, each requiring unique solutions for optimal data protection.
- Frequent Travelers: iCloud backups are ideal, as they ensure that data remains accessible from any Apple device, wherever you are.
- Business Professionals: Local backups with iTunes/Finder provide security for sensitive data, giving users the option to store files offline for privacy.
- Cross-Platform Users: For those who switch between iOS and Android, Google One provides a flexible and cost-effective way to store and access data.
FAQs
1. How do I check if my iPhone backup was successful?
To verify your iCloud backup, go to Settings > [Your Name] > iCloud > Manage Storage and select your device. You’ll see the latest backup date and time here.
2. Can I backup my iPhone without using iCloud?
Yes, you can back up your iPhone locally using iTunes or Finder on a computer. This method is ideal for users who prefer offline storage.
3. What happens if I don’t back up my iPhone regularly?
Without backups, you risk losing valuable data like photos, contacts, and app information if your iPhone is lost, damaged, or needs replacing.
